
Make a conversation between two ESP32 using MQTT protocol
Introduction
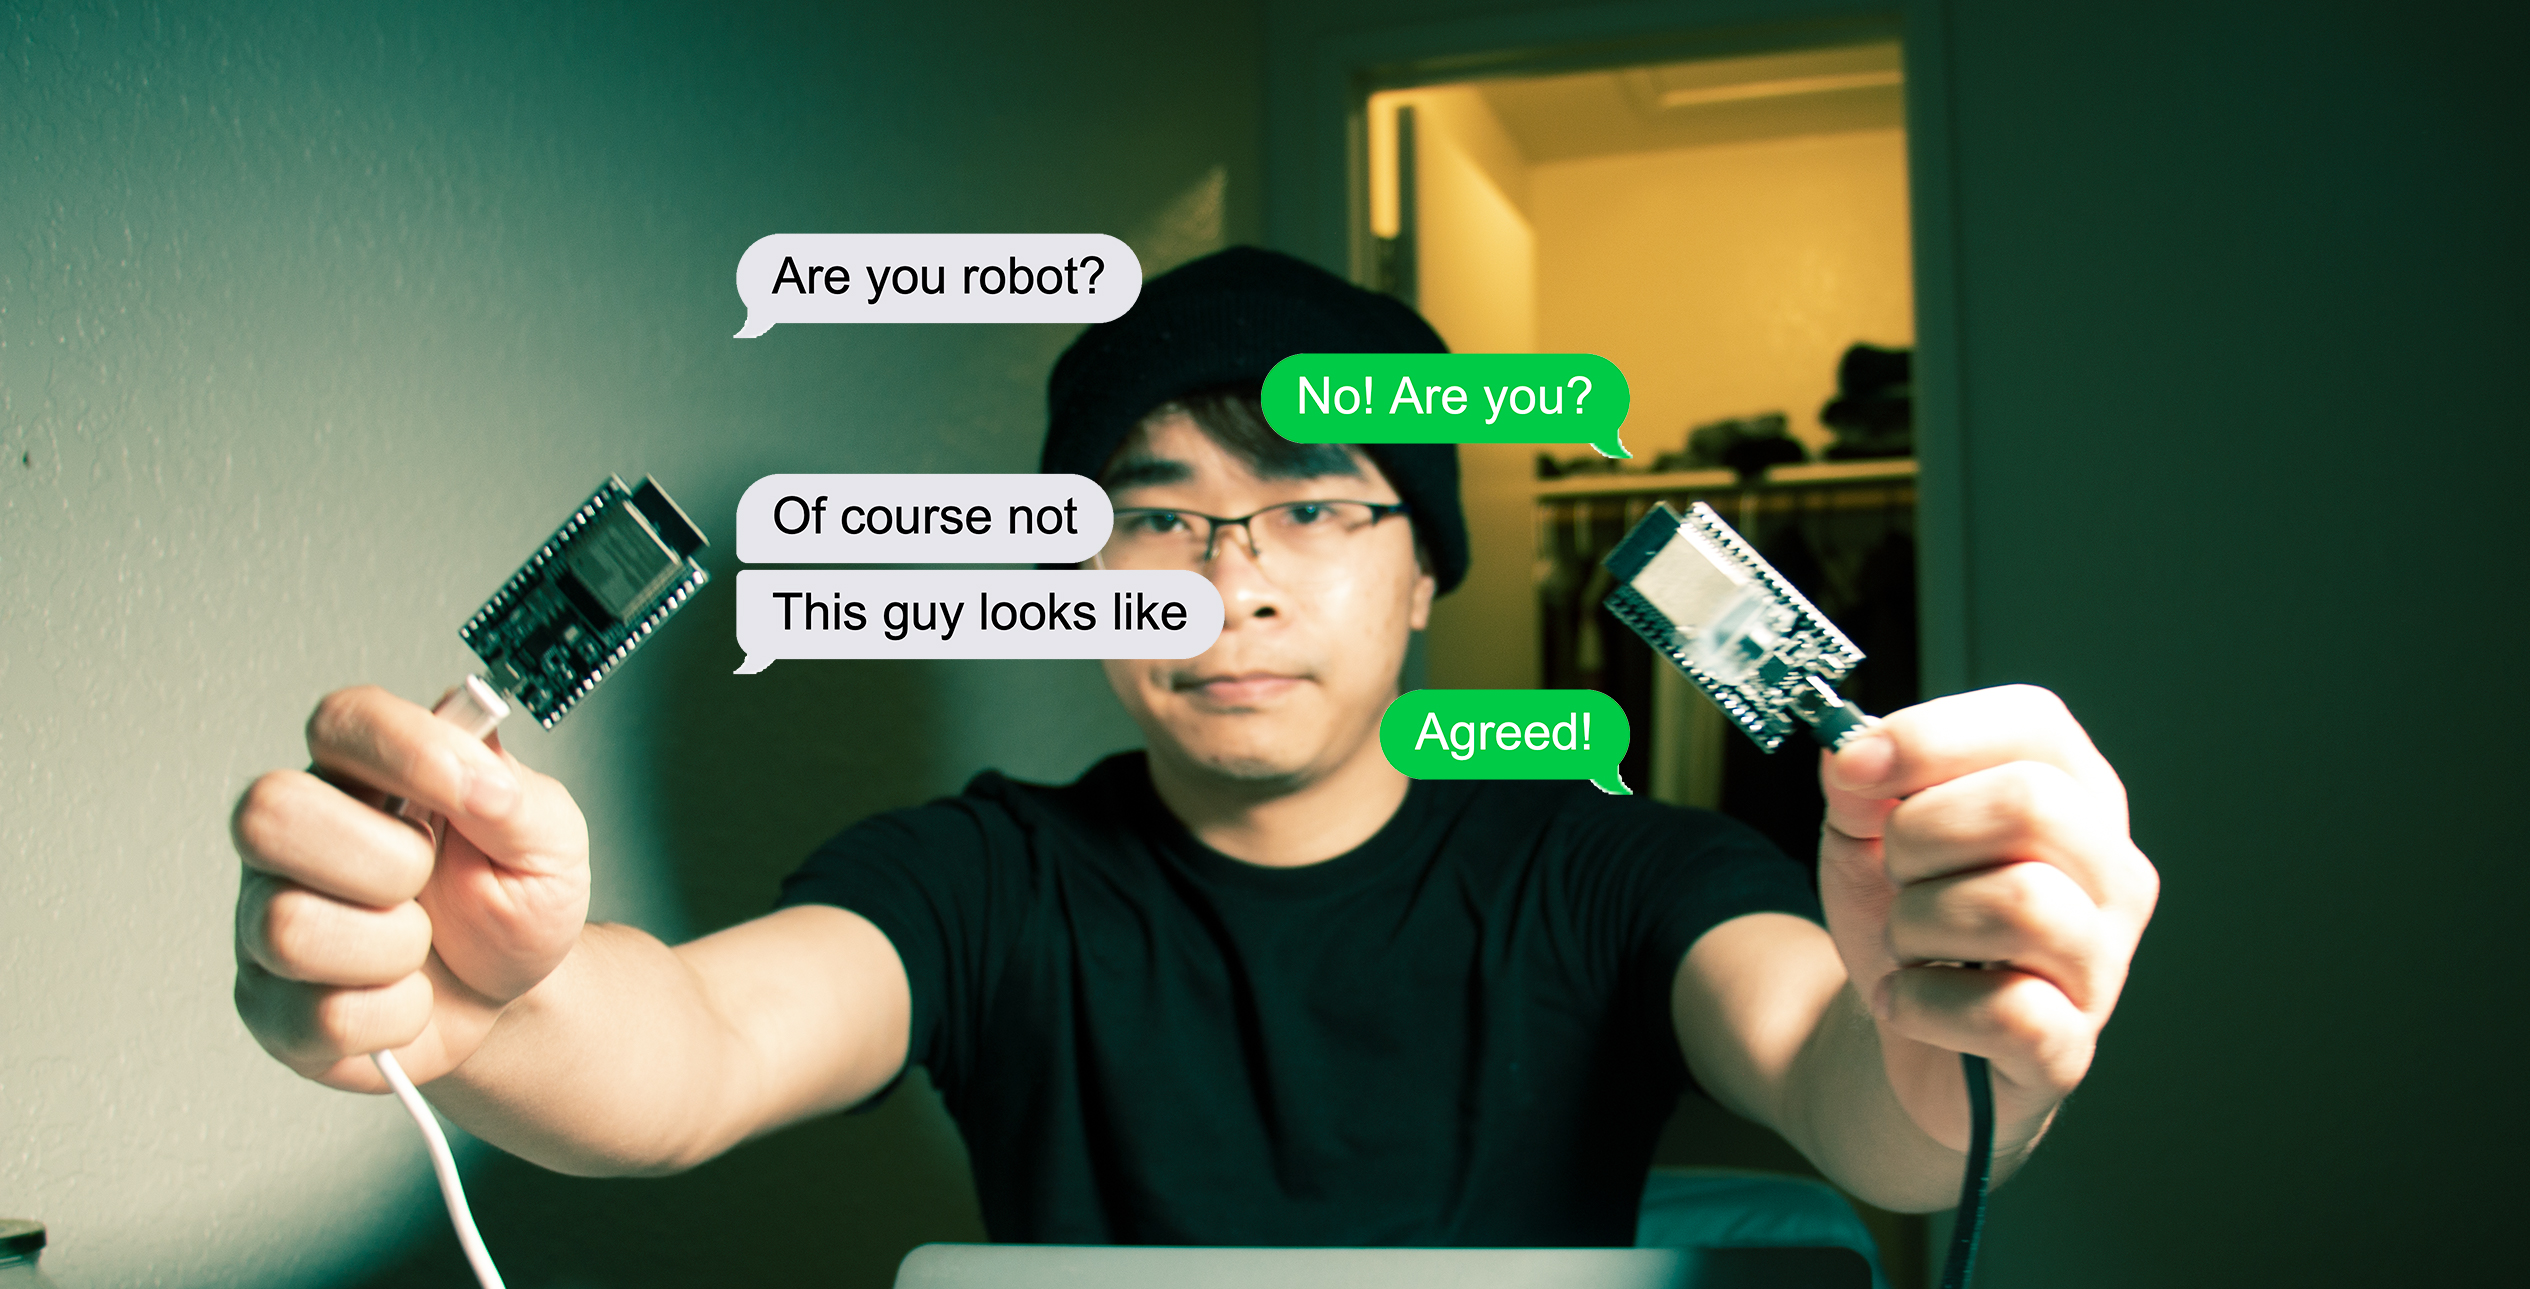
I got two ESP32 from a China shop for just $10 including the shipping fee to the US. ESP32 is a very powerful computer with a dual-core Xtensa® 32-bit LX6 240MHz MCU, even more powerful than a supercomputer in the 90s. Also, 448 KB of ROM and 520 KB of on-chip SRAM is abundant for embedded programs (mine are ESP32-WROOM-32D). Embedded Wi-Fi and BlueTooth make it suitable for IoT edges. Moreover, it has 40 pins GPIO, I2C, I2S, PWM, SDIO, SPI, UART, which enough for multiple peripherals.
Later, I will show you how to extract its full potential on a project of multiple sensors (temperature + humidity, RFID, motion, 4x4 keypad) and multiple actuators (stepper, servo, crystal LCD). It will use FreeRTOS to performs multiple tasks in a “parallel” manner. But in this first try, I will use MicroPython and MQTT to make a simple conversation between the two of them.
Github repo: https://github.com/DoanNguyenTrong/esp32-mqtt-conversation
Flash MicroPython on ESP32
First of all, you need to flash MicroPython firmware onto your ESP32 devices.
This link is a good starting point for you to get more in-depth.
Otherwise, you can directly download a suitable firmware here
In my case, as I choose to use a generic + stable version (el.g., esp32-idf3-20200902-v1.13.bin).
Run the below commands:
# Intall esptool
pip3 install esptool

# List serial ports
ls /dev/tty.*

# Erase the flash
python3 ../human_detection_localization/code/python37_env/bin/esptool.py --port /dev/tty.SLAB_USBtoUART6 erase_flash
python3 ../human_detection_localization/code/python37_env/bin/esptool.py --port /dev/tty.SLAB_USBtoUART erase_flash
Here, I use a virtual environment of python3.7, but you can replace ../human_detection_localization/code/python37_env/bin/esptool.py with the place where esptool installed.
Also, as I am using macOS, the port name looks awkward to Windows or Linux users. But don’t worry, you are good to go.
After erasing the flash memory of your ESP32, you need to flash the new firmware by using the below commands.
# Flash new firmware
python3 ../human_detection_localization/code/python37_env/bin/esptool.py --chip esp32 --port /dev/tty.SLAB_USBtoUART6 --baud 460800 write_flash -z 0x1000 esp32-idf3-20200902-v1.13.bin
python3 ../human_detection_localization/code/python37_env/bin/esptool.py --chip esp32 --port /dev/tty.SLAB_USBtoUART --baud 460800 write_flash -z 0x1000 esp32-idf3-20200902-v1.13.bin
After this step, you have MicroPython installed on your ESP32. Let’s enter the computer and try to run some python code.
To access to your ESP32 via UART, install picocom.
# Install picocom and access to the esp
brew install picocom

# Access your boards
picocom -b 115200 /dev/tty.SLAB_USBtoUART
picocom -b 115200 /dev/tty.SLAB_USBtoUART6import os
os.listdir()Press “Ctrl a + Ctrl x” to exit picocom.
Setup MQTT broker
Next, you need to set up an MQTT broker on your local network (follow this link)
Then you need to configure and start it.
The config files should be placed in /usr/local/etc/mosquitto/ and there is a template there.
Let’s make a copy of it and modify it as our need.
cp /usr/local/etc/mosquitto/mosquitto.conf /usr/local/etc/mosquitto/doan_mosquitto.confpersistence false
# mqtt
listener 1883 192.168.0.6
protocol mqttHere, 1883 is the default port for local, low-level security connection and 192.168.0.6 is the IP address of my computer.
You should modify it with yours.
Start the broker
/usr/local/sbin/mosquitto -c /usr/local/etc/mosquitto/doan_mosquitto.confYou can see how it works by open two new terminals and executes
# Terminal 1: Subscribe to "esp32/output" topic
mosquitto_sub -h 192.168.0.6 -t "esp32/output"

# Terminal 2: Publish to "esp32/output"
osquitto_pub -h 192.168.0.6 -t "esp32/output" -m "on"Push python code to the ESP
You are successfully installed MicroPython on your ESP, let’s upload the code in two folders machine1 and machine2 to your two ESP32.
To do this, you need to install the Adafruit MicroPython Tool (ampy).
pip3 install --user adafruit-ampyThen, you need to add network credentials and MQTT broker IP address in the boot.py and main.py files.
# boot.py
# Network credetntials
ssid = ''
password = ''

# main.py
# MQTT broker IP address
mqtt_server = '192.168.0.6'
Execute the below commands to upload the code
cd machine1/
ampy --port /dev/tty.SLAB_USBtoUART6 --baud 115200 ls
ampy --port /dev/tty.SLAB_USBtoUART6 --baud 115200 put boot.py
ampy --port /dev/tty.SLAB_USBtoUART6 --baud 115200 put main.py
ampy --port /dev/tty.SLAB_USBtoUART6 --baud 115200 put umqttsimple.py

cd ../machine2/
ampy --port /dev/tty.SLAB_USBtoUART --baud 115200 ls
ampy --port /dev/tty.SLAB_USBtoUART --baud 115200 put boot.py
ampy --port /dev/tty.SLAB_USBtoUART --baud 115200 put main.py
ampy --port /dev/tty.SLAB_USBtoUART --baud 115200 put umqttsimple.py